Each year, I attempt to refresh my system by installing the latest version of macOS, often beginning with a beta release. Nevertheless, I've no longer update my primary computer to the latest beta versions due to certain software lagging behind and requiring updates before compatibility is ensured. Specifically, the software that are "dealbreakers" are Universal Audio Console and Loopback. I use these for recording and have had issues in the past with updating too soon. But, I will use a spare computer or a virtual machine to test out upcoming releases.
Installing Homebrew
We'll first start with Homebrew. This will install the Homebrew.
/bin/bash -c "$(curl -fsSL https://raw.githubusercontent.com/Homebrew/install/HEAD/install.sh)"You'll then be prompted to run some additional commands.
(echo; echo 'eval "$(/opt/homebrew/bin/brew shellenv)"') >> /Users/$(whoami)/.zprofile
eval "$(/opt/homebrew/bin/brew shellenv)"
Installing Apps
Some apps that I'll install on any new install. Some of these applications are paid. There are several others, but they're unrelated to my development experience.
brew install \
  iterm2 \
  visual-studio-code \
  orbstack \
  1password \
  obsidian \
  google-chrome \
  cleanshot \
  cyberduck \
  rectangle \
  ollama \
  tableplus \
  magic-wormhole
I will also install some libraries needed for other Rails development stuff. Since I use both MySQL and PostgreSQL, I'll install the appropriate packages. I don't actually install the services since I've dockerized all of my applications and their dependencies.
brew install libpq mysql-clientOh-my-zsh
By default, macOS comes with ZSH, but there are some things that oh-my-zsh does out of the box that I've grown to enjoy.
sh -c "$(curl -fsSL https://raw.githubusercontent.com/ohmyzsh/ohmyzsh/master/tools/install.sh)".devrc
I like my dot files to be separate from the main .zshrc file. This way, I can backup my .devrc file and have all of my settings intact. But, I will insert into the .zshrc a command to load the .devrc
echo 'source ~/.devrc' >> ~/.zshrc
Installing Ruby
Then we can start with ASDF which is a runtime version manager.
brew install asdf
echo -e "\n. $(brew --prefix asdf)/libexec/asdf.sh" >> ${ZDOTDIR:-~}/.devrc
source ~/.zshrc
We will need to install some packages for Ruby.
asdf plugin add rust
asdf install rust latest
asdf global rust latest
brew install openssl@3 readline libyaml gmp
Then we can install Ruby. At the time of this article, the latest version of Ruby is 3.3.4. I will also add echo 'export RUBY_YJIT_ENABLE=1' >> ~/.devrc since some applications I work on may not be updated to the latest version of Rails which enables YJIT by default.
asdf plugin add ruby
asdf install ruby 3.3.4
asdf global ruby 3.3.4
echo 'export RUBY_YJIT_ENABLE=1' >> ~/.devrc
source ~/.zshrc
gem update --system
Ruby's now installed, so we can verify this and make sure that everything is working well.
ruby -v
ruby 3.3.4 (2024-07-09 revision be1089c8ec) +YJIT [arm64-darwin24]
Since I don't want to install documentation for gems, I will typically exclude this by updating my .gemrc
echo "gem: --no-document" > ~/.gemrcAnd now we're ready to install Ruby on Rails and any other gems
gem install rails foremanI also have a ~/.railsrc file which has a bunch of defaults whenever I am creating a new application.
echo "--asset-pipeline propshaft" >> ~/.railsrc
echo "--javascript esbuild" >> ~/.railsrc
echo "--skip-jbuilder" >> ~/.railsrc
echo "--css bootstrap" >> ~/.railsrc
Installing NodeJS
While Rails will use importmaps as a default, I often find that importmaps is a bit more annoying to work with than other options like bun or esbuild. So, I'll use asdf to install NodeJS.
asdf plugin add nodejs
asdf install nodejs 21.7.3
asdf global nodejs 21.7.3
npm -g install yarn
Docker
I enjoy keeping things clean on my development environment. I keep the runtimes for Ruby and NodeJS on the host machine because it's easier to run some scripts and create sample applications. I use to use Docker Desktop and have since switched to OrbStack.
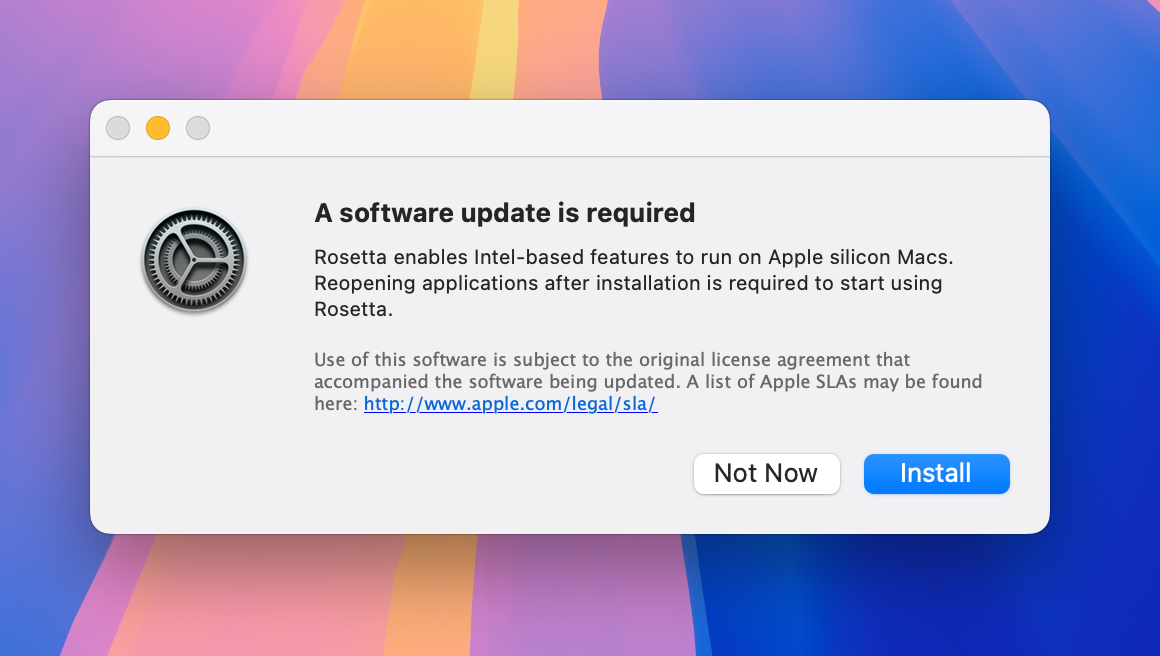
orb startFor some reason, it's 2024 and we still need Rosetta for some things. When starting OrbStack, it prompts us to install Rosetta. But honestly, this isn't a horrible thing as when building x86/amd64 containers on Apple Silicon, it can get a speed boost by building the Docker image through Rosetta.
Once you go through the OrbStack setup, you should be able to interact with Docker from the command line.
docker run --rm hello-worldBacking up data
This is the basics of what I need to do in order to be productive with my development environment. There are a few things that I will backup and transfer to my new computer (or fresh install). These things are mainly to get back up and running quicker.
On my original macOS install I will back up the files/folders and transfer them to my new setup. The reason why I copy my Projects is that there are several files within these folders that would be difficult to get back. Mainly encryption keys or .env files. I find it easier to just copy the directories over rather than redownloading them from the version control.
~/.ssh/
~/.aws/
~/Projects/ # or whatever you call them
~/.zsh_history
~/.devrc
~/.gemrc
Typically, I'll use TimeMachine to back up my macOS computer, but also have another backup solution like BackBlaze in the event that my computer and TimeMachine backup fails.
Testing things out
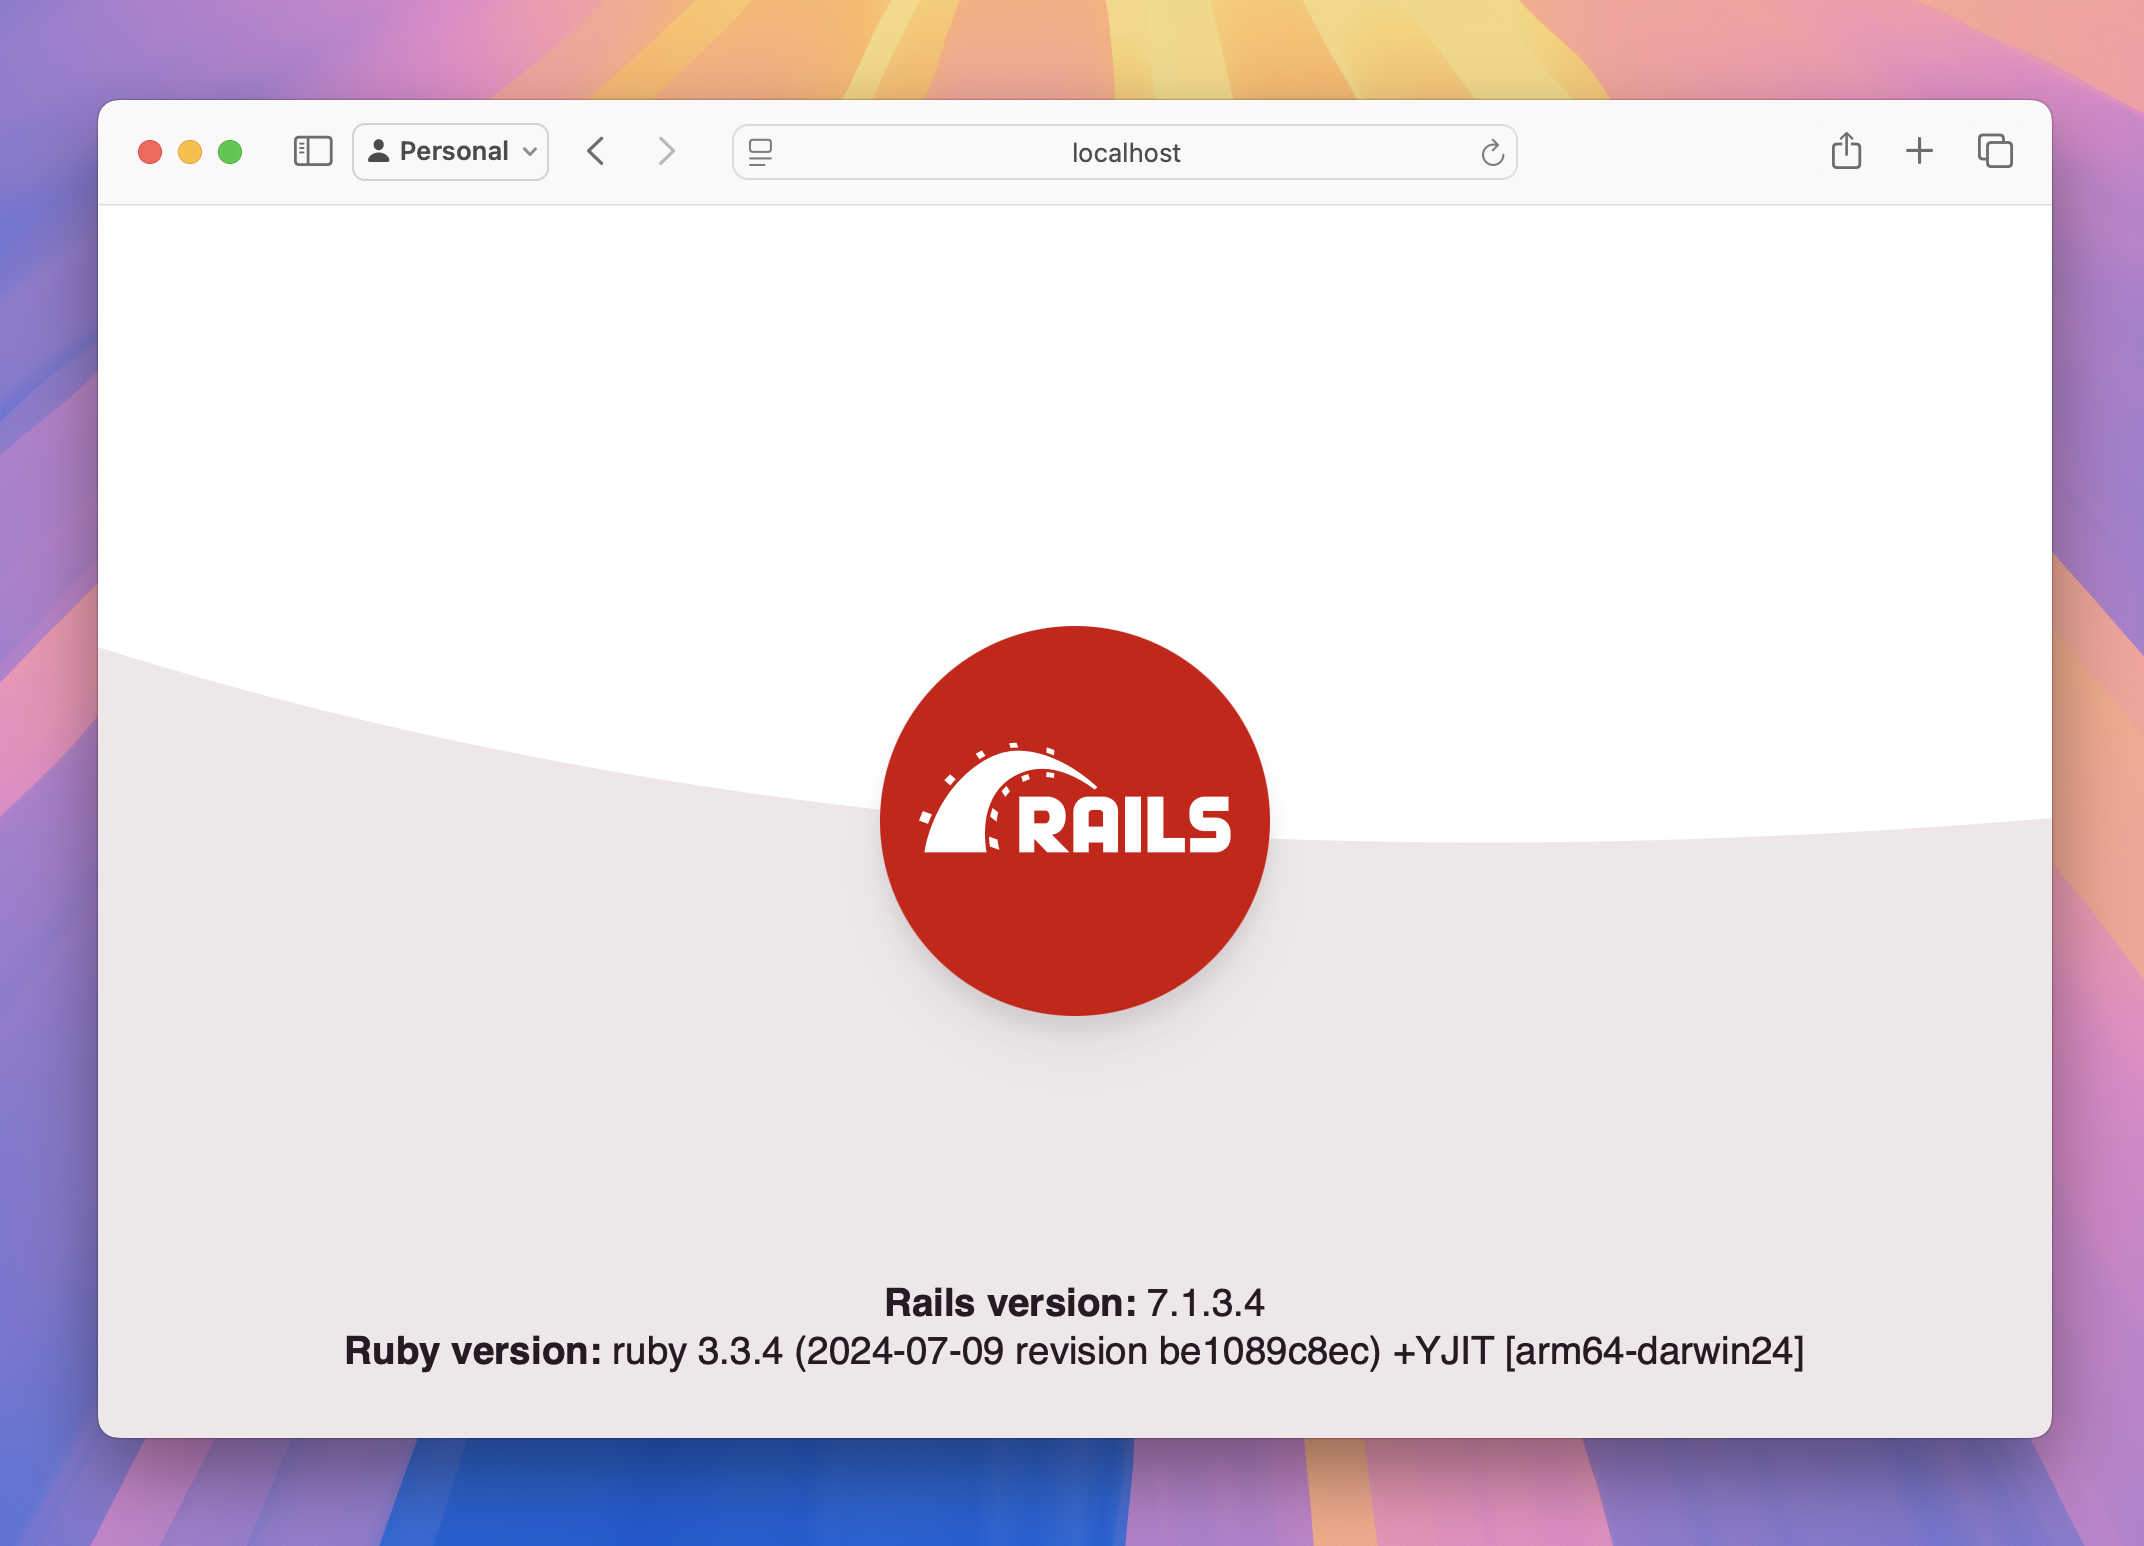
Let's create a simple Ruby on Rails application and see if things are working correctly.
rails new example
cd example
bin/dev
We can visit http://localhost:3000 and see if things are working.

Member discussion: